How to Use the Testimonial Rotator Plugin for WordPress

By sharing positive comments from customers, testimonials are a nice way to promote your online business.
Testimonial Rotator is a plugin to manage and display testimonials in WordPress.
In this tutorial, I’m going to show you how to create and display testimonials in your site.
Step #1. Install Testimonial Rotator plugin
- Log in to your WordPress site.
- Go to Plugins > Add new and search for “Testimonial Rotator”.
- Click “Install Now” and activate the plugin.

Step #2. Add a rotator
- Go to Testimonials > Add Rotator.

- Set a title for this rotator.
Scroll down and configure the rotator options to your needs.
- Transition Effect.
- Image Size for every testimonial.
- Seconds per Testimonial.
- Transition.
- HTML tag for Testimonial titles.

On the right, you can set up other settings that are unchecked by default:
- Randomize Testimonials.
- Vertical Align (Center Testimonials Height).
- Show Previous/Next Buttons.
- Hide Featured Image.
- Hide Microdata (hReview).

- Select a theme.

- Click the “Publish” button when you’re done.
Step #3. Add a testimonial
- Go to Testimonials > Add New.

- Type a title (highlight) and the testimonial text.

- Attach to Rotator. Check the Rotator created in the previous step.
- Select an optional “Star Rating” from 1 to 5. By defaults is “Don’t show”.

- Type Author information like name or credentials.

- Upload the person’s image.

- Save changes when you’re done.
- Create as many testimonials you need by repeating this step.
Step #4. Add a Testimonial rotator shortcode into a page
- Create or edit a page through Pages > Add new/Edit.
- Click “Add rotator” button.

- Choose a rotator.
- Insert rotator.

- A shortcode is added to the editor:

- Save changes when you’re done.
Step #5. End result
Preview the page. The testimonial posts will rotate based on the settings from step 2.

Hi,
Following all steps, it works; however, an extract is automatically done, whereas I would like the full testimonial to appear. Is there a possibility to increase the number of words or caracters appearing?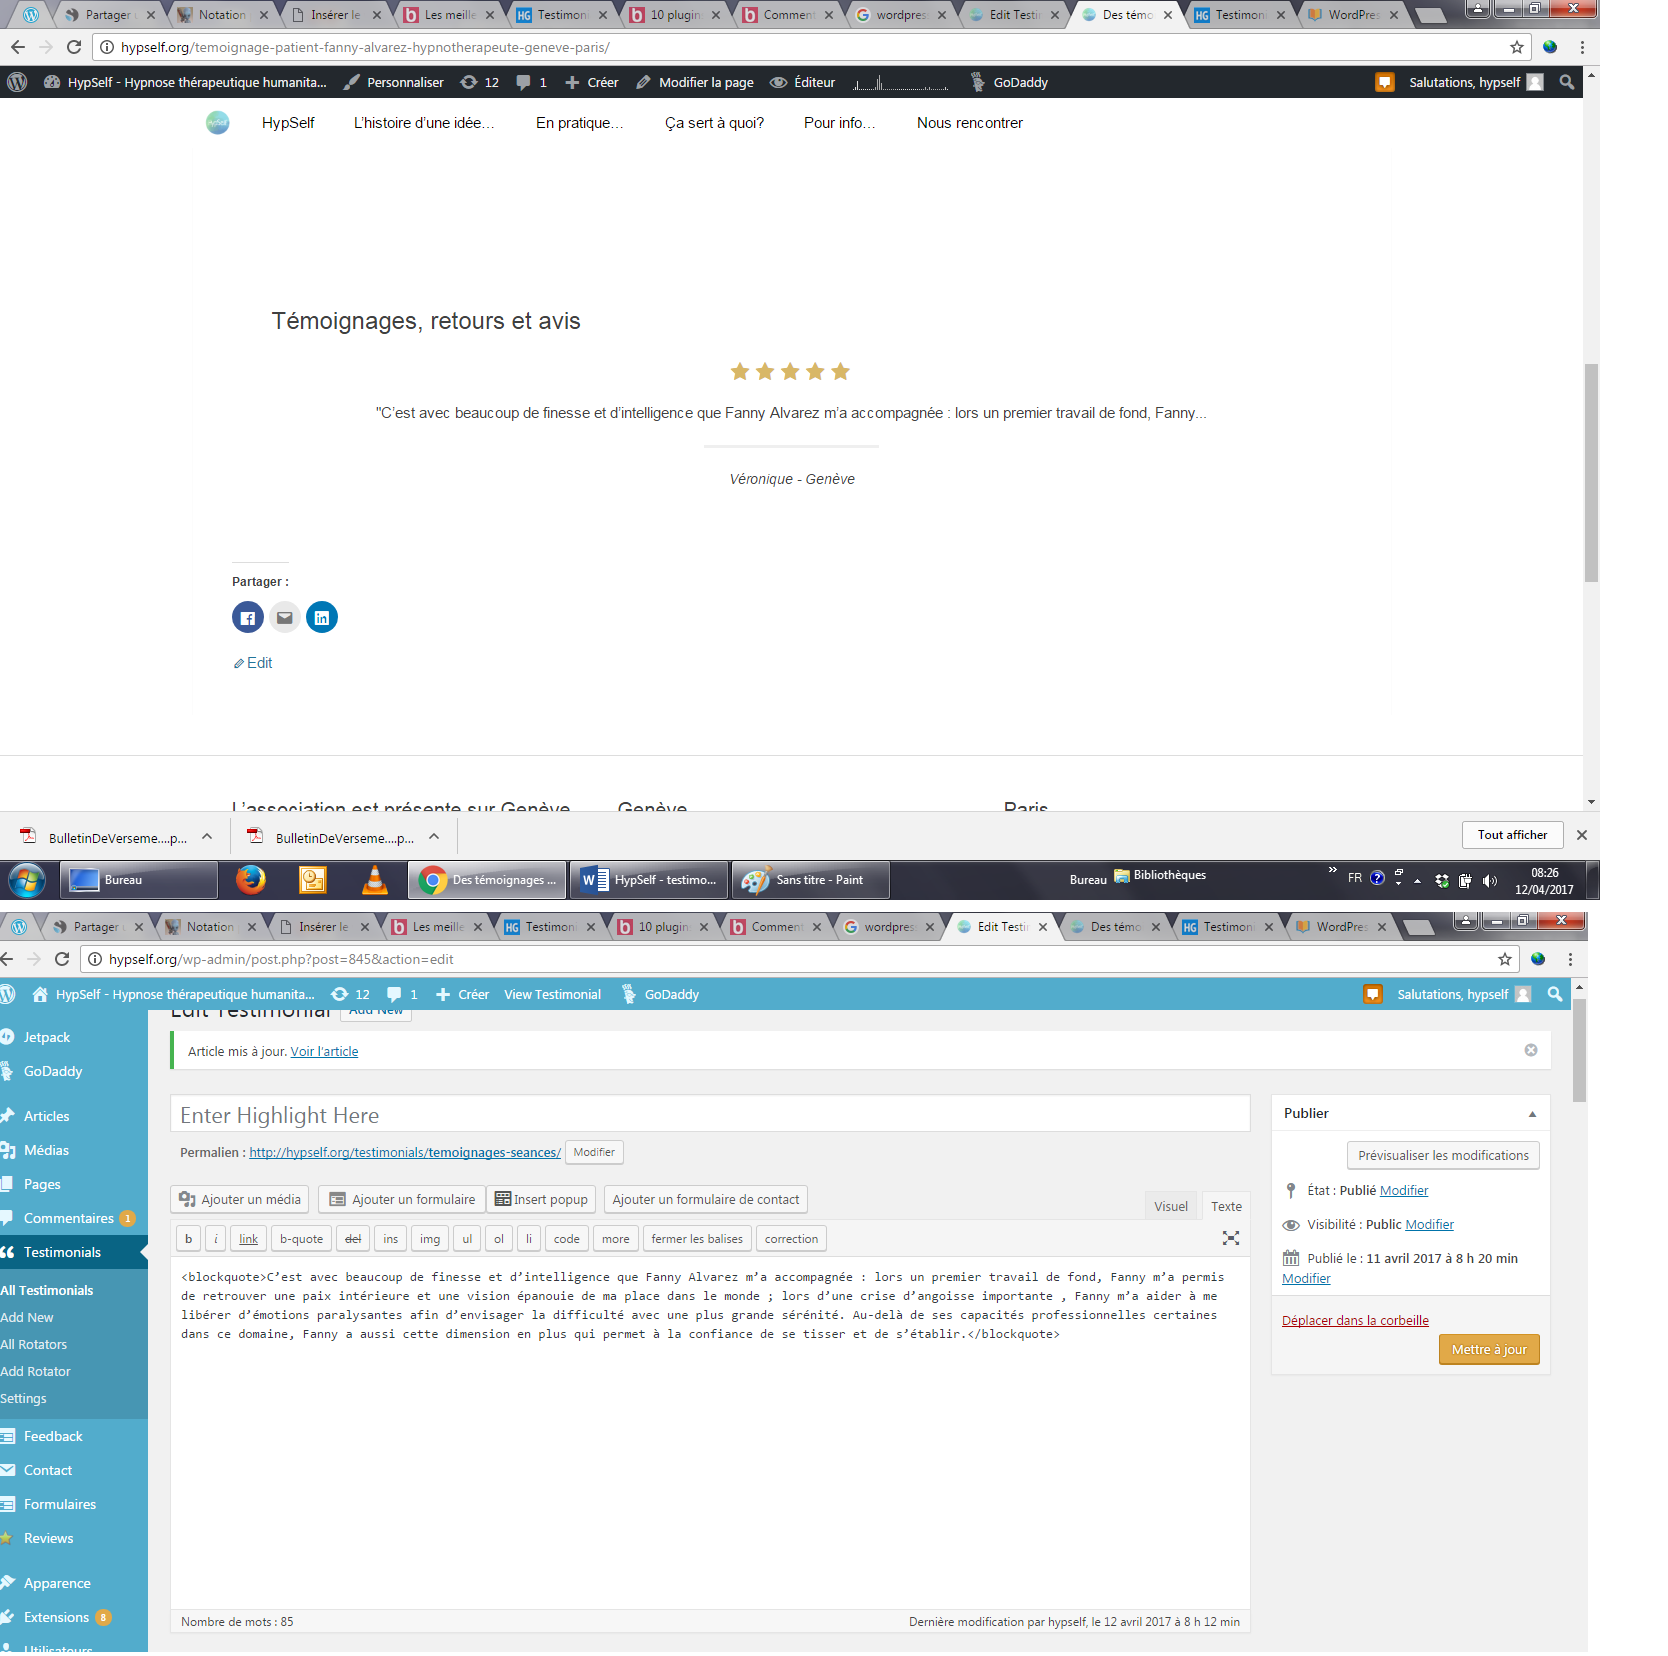 ]https://uploads.disquscdn.c…[/url]
[url
I found the solution 🙂
Can I add it to a sidebar as a widget?
Hello,
I have added the rotator to a page but the testimonials are listing as a long list of blogs, do you know why this might be?
Thank you!
Lorna