How to Add Image Blocks in the WordPress Gutenberg Editor
In a previous blog post, we explained that the new Gutenberg editor has moved many key text features into blocks. The same is true with images in Gutenberg.
In the old WordPress editor, you could click “Add media” and use many image and media features from that pop-up screen. That has all changed with Gutenberg.
In this tutorial, I’ll walk you through the options for handling images in Gutenberg. You can also super-charge your image blocks with plugins such as Advanced Gutenberg that add more media features.
Getting started with images in Gutenberg
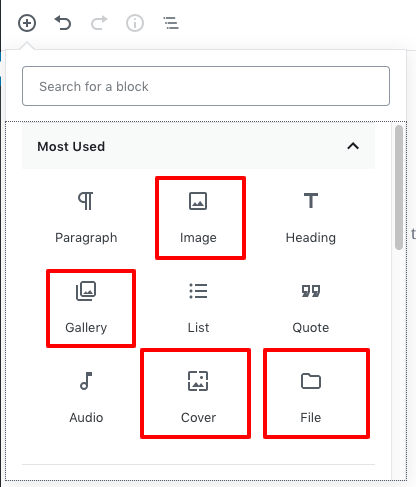
There are at least five different ways you can add images to your content with the default Gutenberg blocks. There are four image blocks, called Image, Gallery, Cover and File. There’s also a combined block called Media & Text.
Option #1. The Image block in Gutenberg
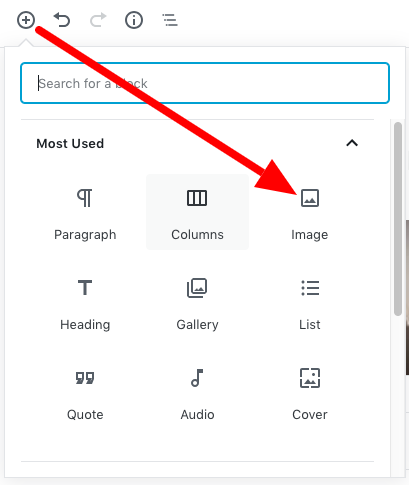
To add a basic image to your WordPress content, click on the + icon and choose the “Image” block.
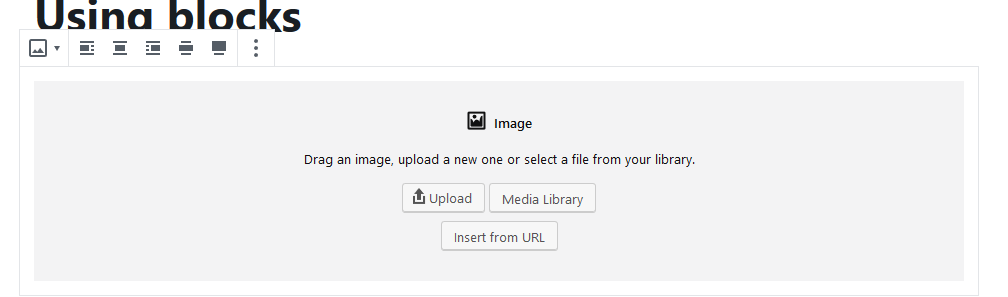
Now you can either upload an image, select one from your Media Library, or insert from an URL. This is very similar to the image upload process in the old WordPress editor.
The toolbar in the top-right corner of the image block allows you to align the image. The blue dots on the edge of the image let you resize the image.
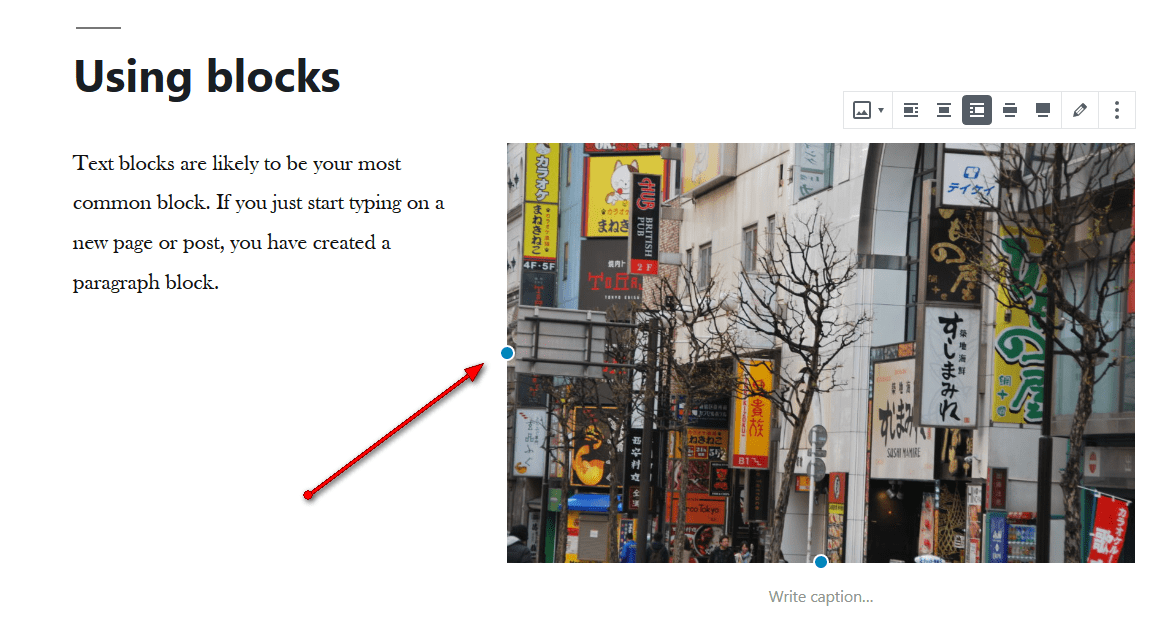
If you chose not to indent the image, you can decide how wide the image should be: “Wide” or “Full Width”. Wide will make it a little wider than your text blocks, while full width will set it to extend across your screen. These settings may be influenced by your theme.
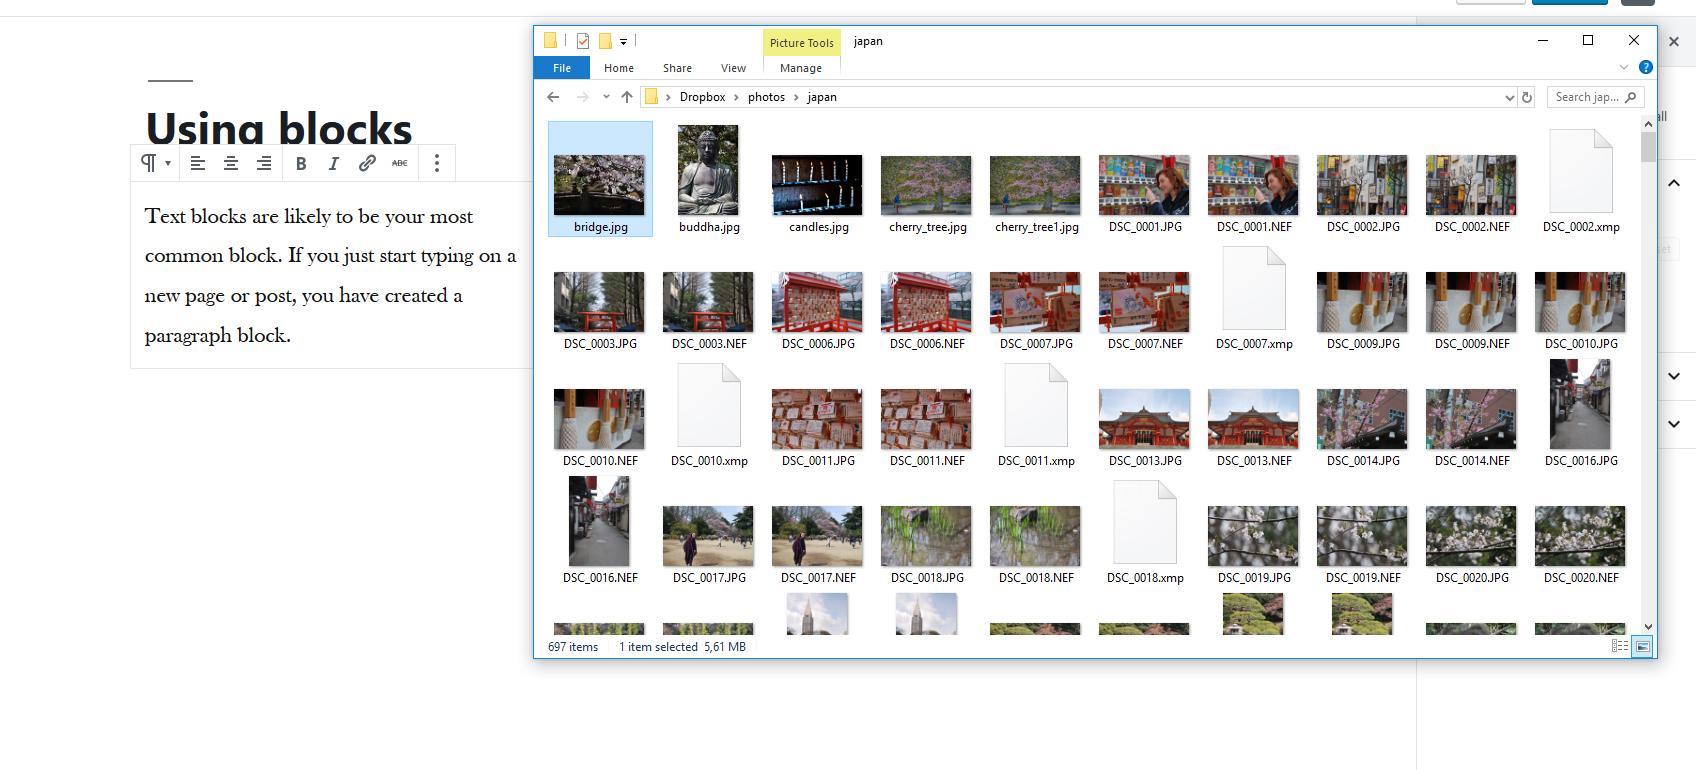
An extra handy feature lets you easily add an image directly from your computer without selecting a block. Simply place your mouse cursor where you want the image to go and open a folder with your images, then drag the image you have chosen onto the page or post.
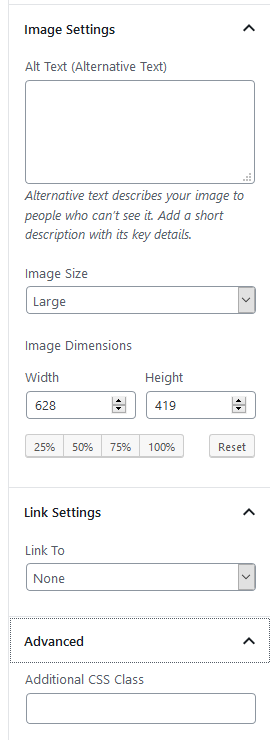
The image settings on the right let you adjust the image size to a specific pixel width or height or percentage. Here you can also write a ALT text, create a link, or add your own CSS class.
Option #2. The Media & Text block Gutenberg
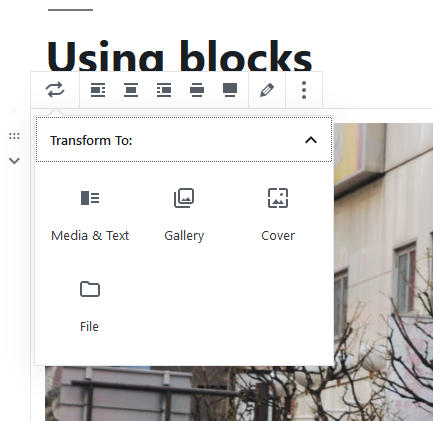
We’ve just seen the most straightforward image block in Gutenberg. This block can be converted into several different formats: Media & Text, Gallery, Cover, and File. You can see these options by clicking the “left and right” arrows” in the block toolbar.
Media and text lets you layout your image next to some text. Here is an example using the fill width setting.
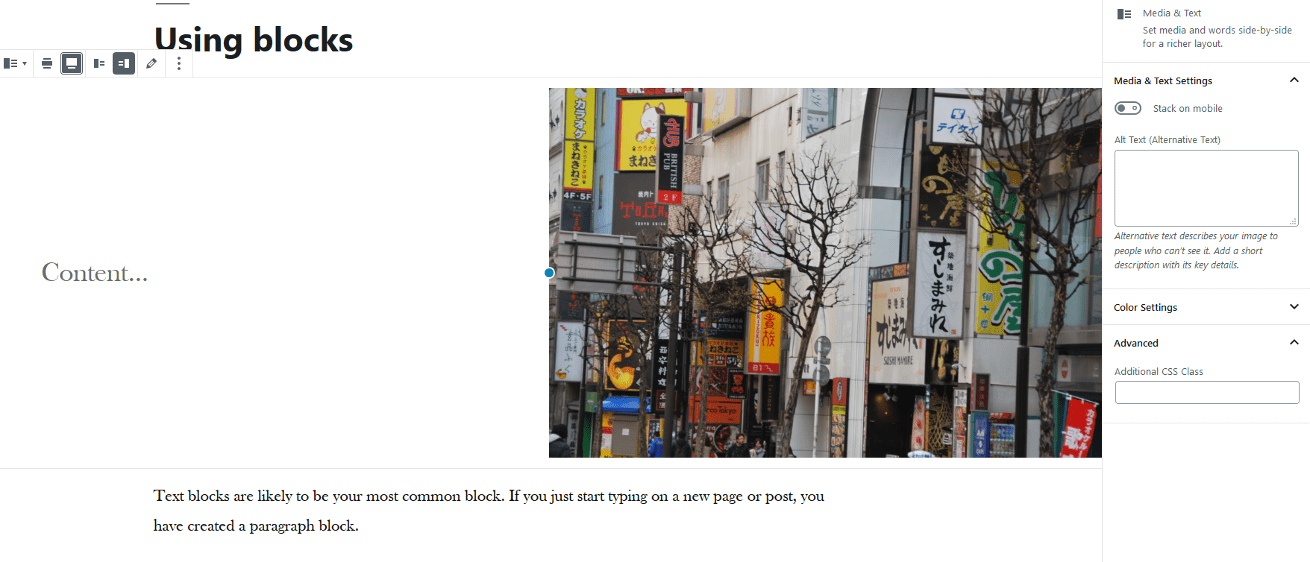
On the right-hand settings bar, you chose to stack this image and its related text on mobile devices, add a background color or an extra CSS class. Using a background color can help you create a highlight area in your page, making a visual break. Here is a preview:
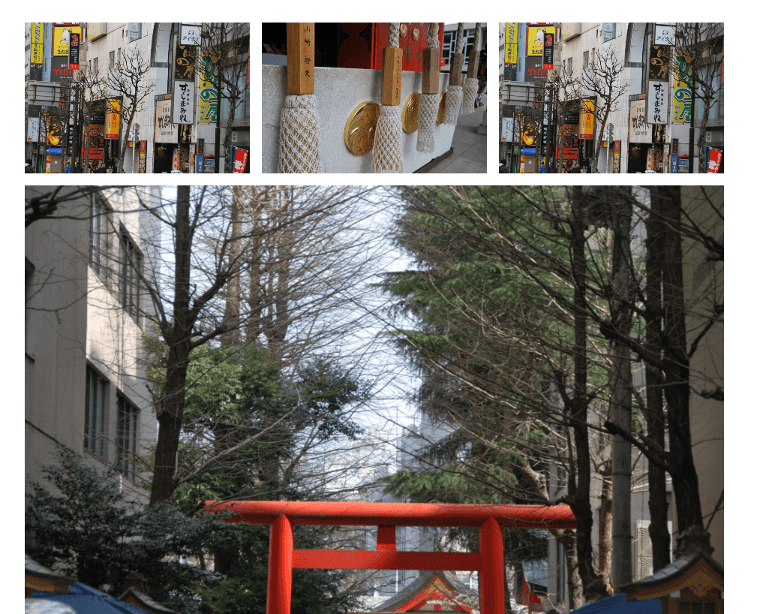
Option #3. Using the Gallery block in Gutenberg
The gallery option prompts you to upload other images and presents a simple gallery. The settings on the right-hand side allows you to decide how many columns to use, and whether to crop the images automatically. This is a very quick and powerful way to add a gallery.
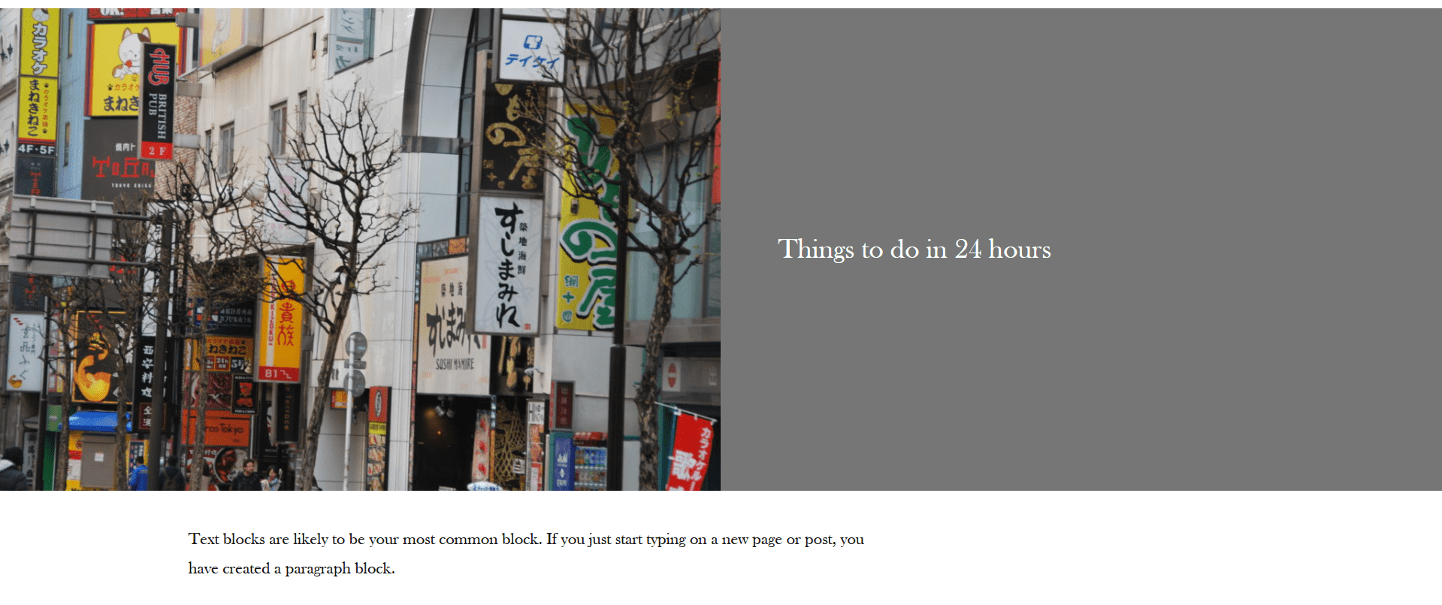
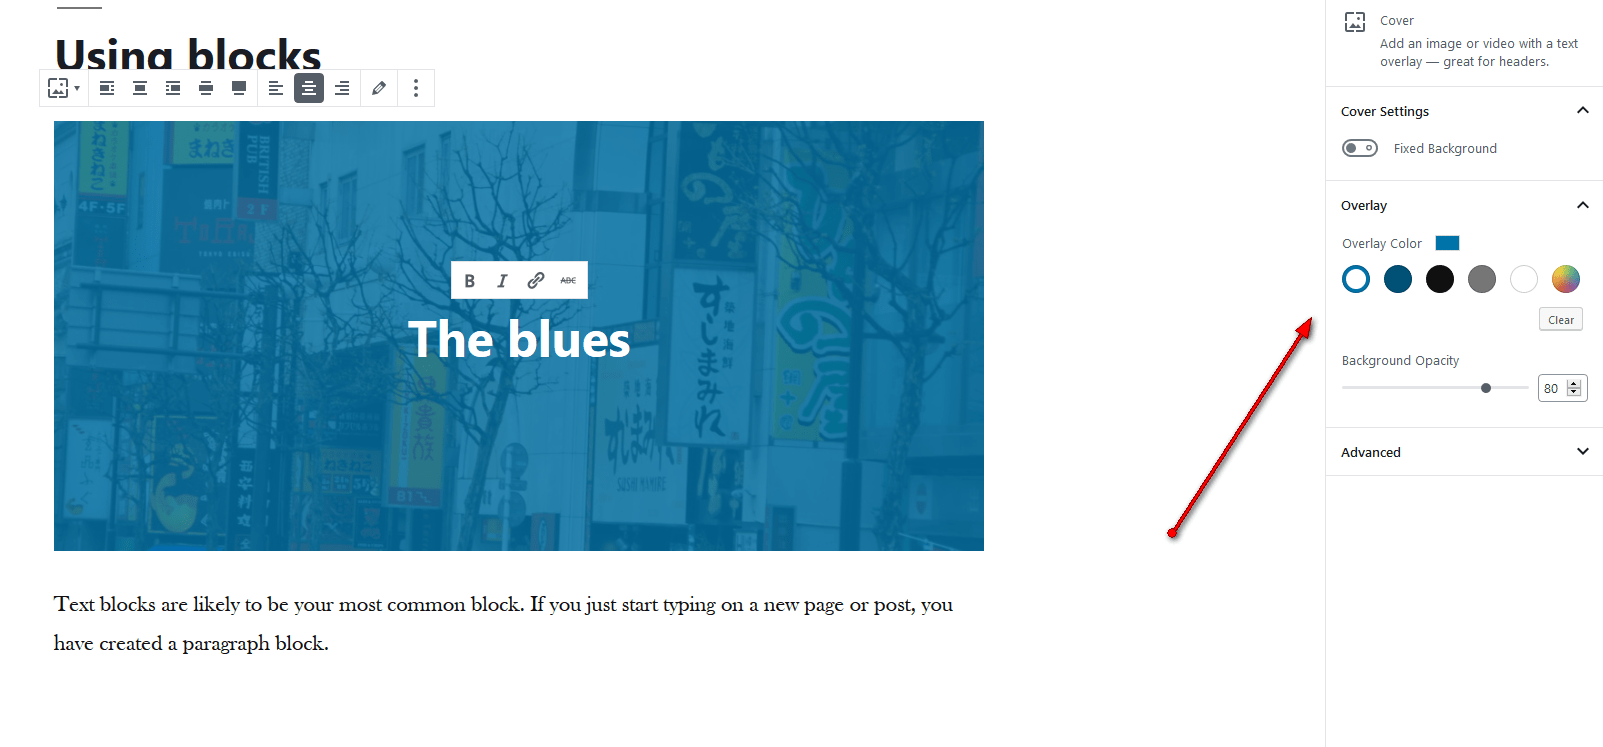
Option #4. Using the Cover Block in Gutenberg
The Cover block offers a great way to visually enhance your page. This blocks allows you add a title or description on top of an image.
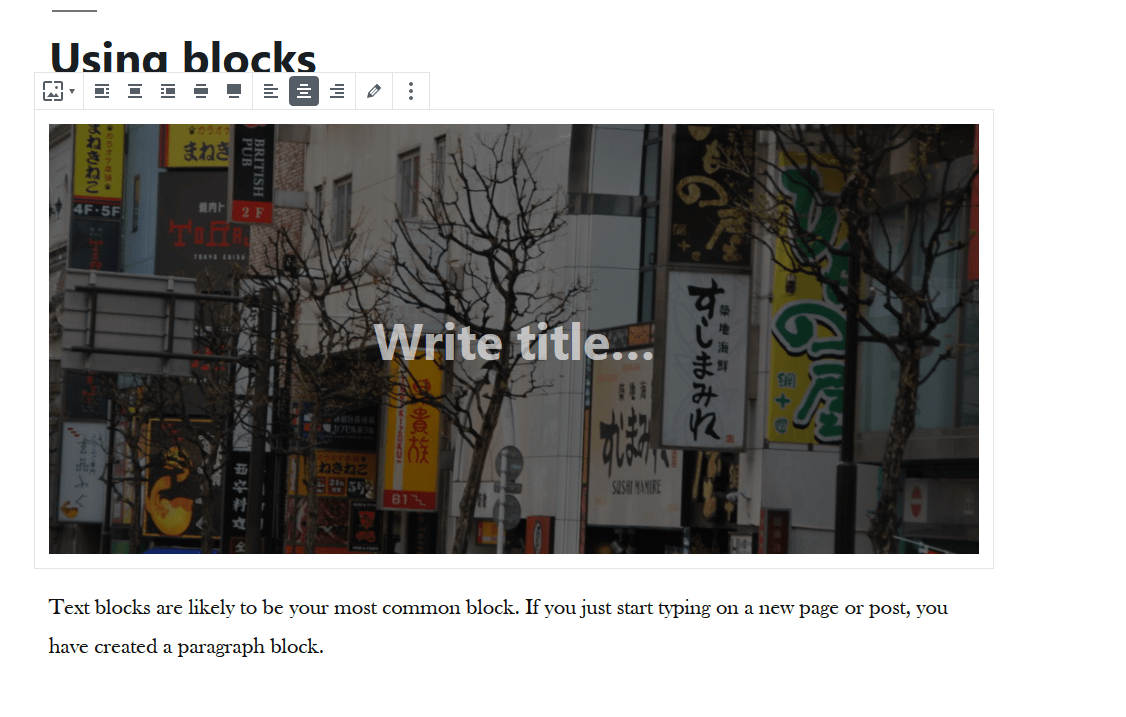
The block toolbar, above it, lets you determine the size and positioning of the image and its accompanying text, but the right-hand column provides some creative controls.
You can select an overlay color and decide on its opacity. And you can also choose to make the background image fixed, creating an interesting scrolling effect. It is well worth experimenting with these settings as they can provide some wonderful effects with great ease. The advanced tab allows you to set a CSS class.
Option #5. Using the File block in Gutenberg
The file option for image blocks may be useful if you want to allow people to easily download your image files. If you use the File block, your image will be automatically turned into a download link. Your visitors won’t be able see the image, but they will be able to download the image file.

{snippet gutenbergvideo}
Hi, thanks for the useful information. Do you know how to add an image, or multiple images to an existing text block? I’ve been trying for ages and can’t find a way to do it that looks presentable. Many thanks
Hey Kyle. It depends on how you want to do this, but would the Media & Text block help? A perhaps use the Columns feature with a Gallery in one column and text in the other?
Thanks for your prompt reply. Those would work, but I can’t seem to find a way to change an existing Text block into a Media and Text block without removing the content re-adding it. It’s not an issue for now as I have just realised there is an official WordPress Classic Editor plugin! Maybe in the new year when I have a bit more time I will make more of an effort to learn to use Gutenberg!
I managed to get a combo text & media block, but when I press the arrow to move up or down, it only moves it all the way to the top or all the way to the bottom. And how do you reposition the picture within the block? Say, move it to the right of the text?
Hi Amy. I believe the picture is fixed within the block, except for moving it left or right. You can just move the whole block up or down.
Hi, my media & text blocks are saying i don’t have permission to upload media, but yet can add it anywhere else. any ideas?
Hey thre
I want to have a Picture on the left and a small table on the right.
I Solved the Problem with editing the code. But my users are unable to use code editing.
Any ideas?
I’m on the fence about this, while more customization is good, I have a feeling this is a “in-progress” update, it just feels incomplete and half-way there.
We use badge layout for apps on design approvals (visual projects), so the image being displayed is important. Old layout “feels like” it had larger images,
maybe because the images were cropped more loosely so it’s easier to tell which project it was at quick glance. Now the image is cropped closer, making it
harder to scan thru at quick glance. I find myself needing to click into the project more often than usual. Which makes the whole user experience less
efficient.
I have a couple suggestions that might make it work better:
1. Increase the height of the window the cover image is being displayed.
2. Let us to choose which image to be displayed as “cover” (like how Pinterest handles cover images of each board, was hoping for this for a long time)
3. Let us adjust which part of the image to show and how tight or loose the crop is (with a fixed window, let us move the image around and maybe enlarge or
shrink it to control what shows thru the window. Pinterest does a limited form of this, which is very useful in making the cover image relevant)
4. Allow Cover Image to be ordered in different hierarchy (currently every element can be ordered differently except the Cover Image, it seems to be stuck
in the 2nd spot, would like the option to set it on another spot in the layout. This one seems like an easy fix, since you guys allow that for every other
element already)